Applying colors is one of the most frequent actions in PowerPoint. The Power-user Color Bar keeps all your colors at hand. Apply a font, fill or outline color in a single click, without leaving your slide.
TABLE OF CONTENTS
Opening the Color Bar
- From the Power-user tab, click Color Bar
- The Color Bar pane opens on the right of your screen. You can keep it open while you work: it stays available as you move from one slide to another.

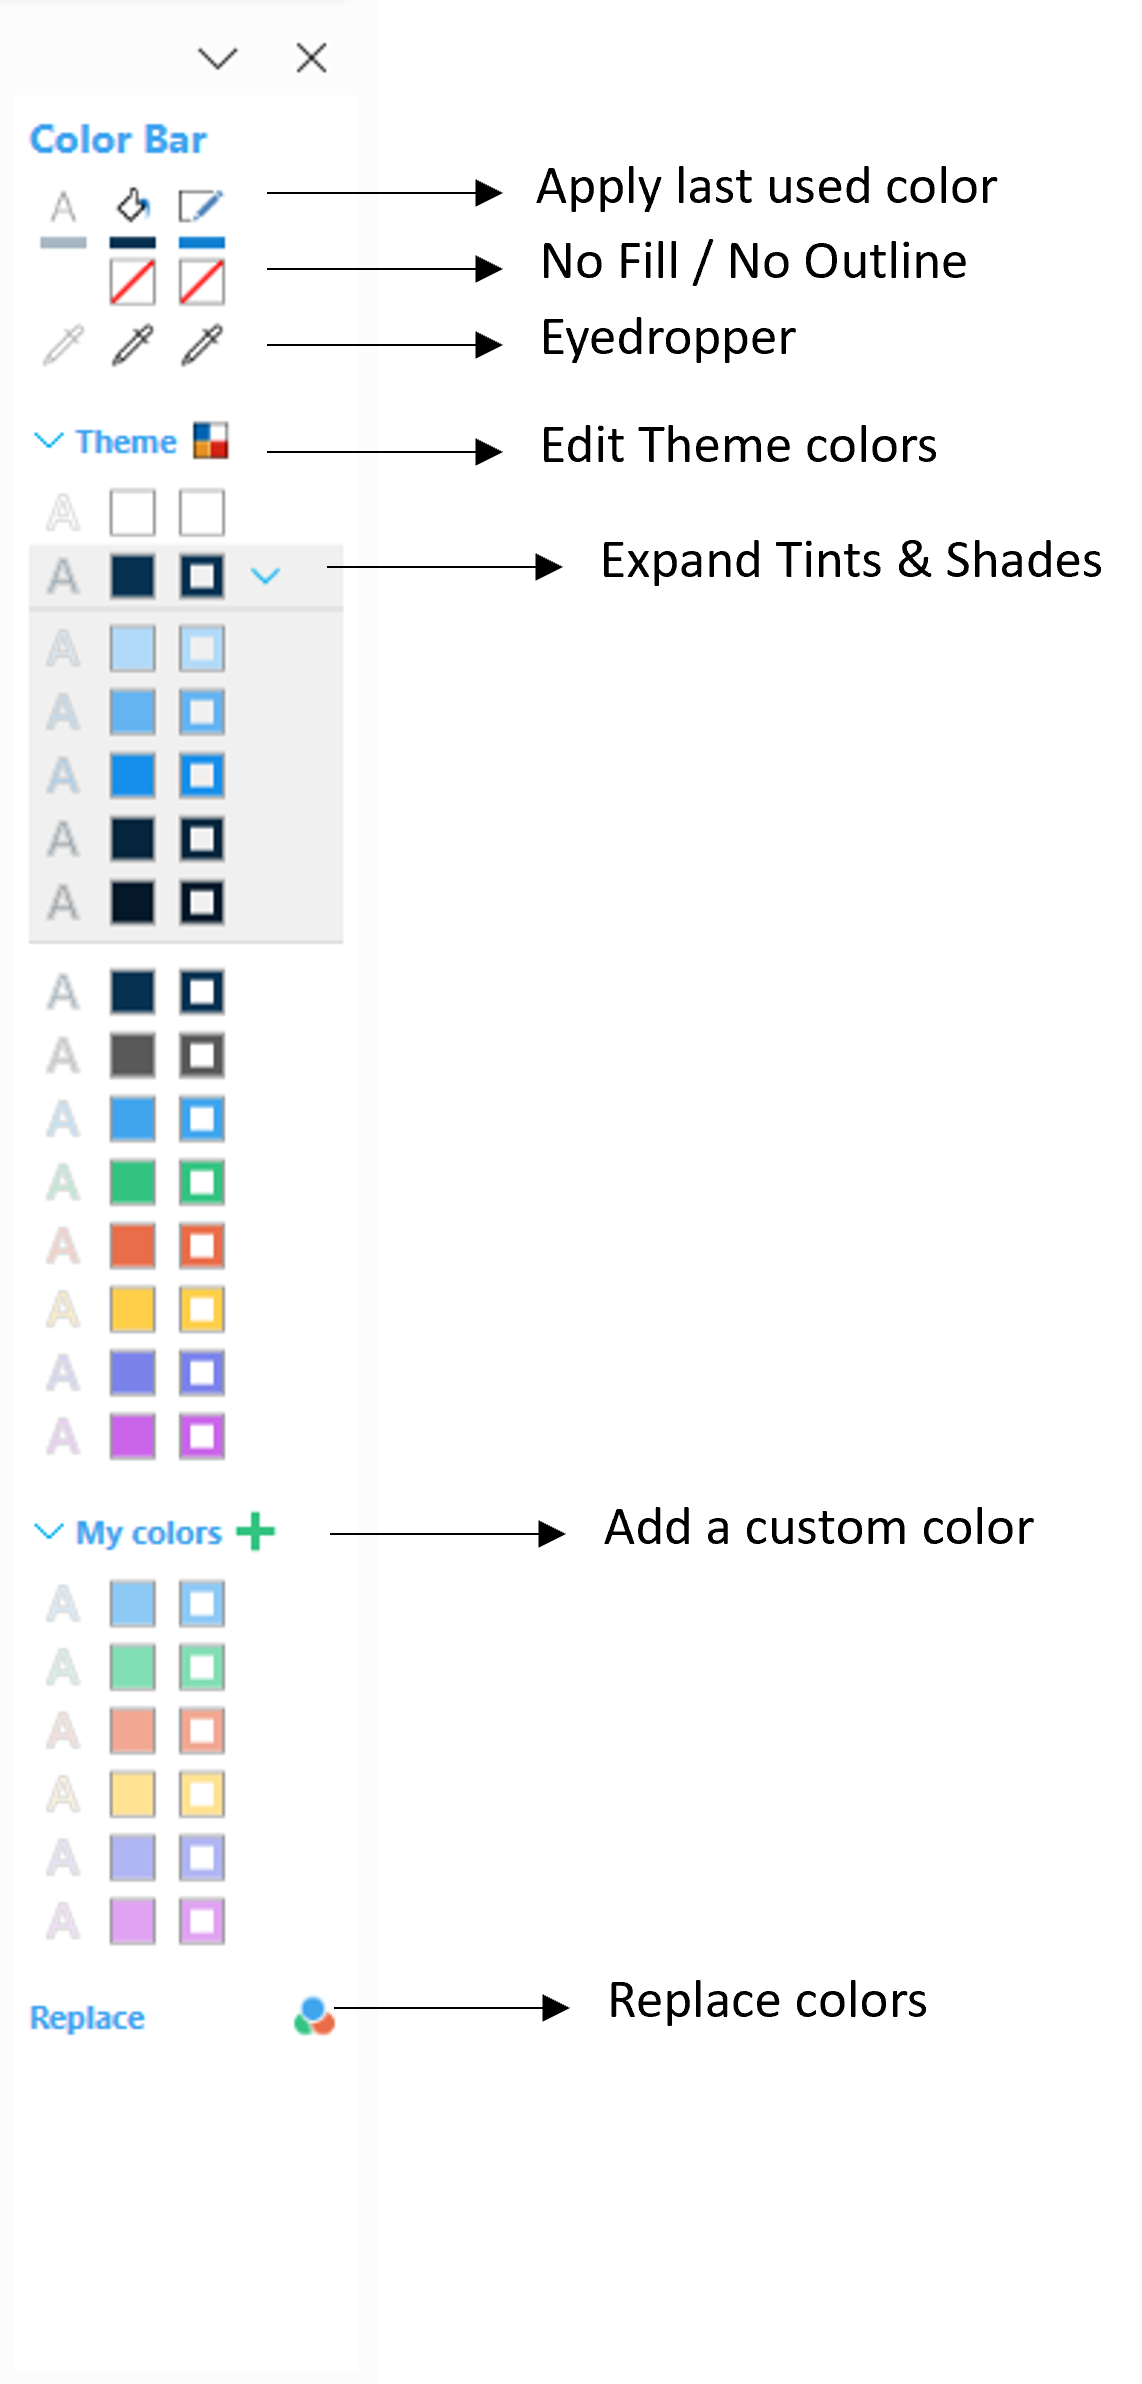
The Color Bar below will open on the side of your presentation:
Using the Color Bar
Applying colors
- Font Color: represented by an icon featuring a capital "A" letter in the color. Applies the color to the text font of the selection.
- Fill Color: represented by a square in the color. Applies the color as the shape fill color of the selection.
- Outline Color: represented by an outlined square. Applies the color to the shape outline of the selection.
To apply a color:
- Select one or several objects on your slide (shapes, text boxes, lines, tables, etc.).
- Click the button corresponding to what you want to color: font, fill or outline.
The three buttons at the top of the pane show the last colors applied to the font, fill and outline, so you can reapply them in one click.
Just below, the buttons with a red diagonal line, just below the Fill and Outline buttons, to remove the fill or the outline of the selected objects.
The three eyedropper buttons let you pick any color displayed on your screen (a logo, a picture, a chart from another document, etc.) and apply it as a font, fill or outline color.
- Select the objects you want to color.
- Click the eyedropper corresponding to the font, the fill or the outline.
- Click anywhere on your screen to pick the color.
Tip: once you have picked a color you will use again, save it in My colors (see below).
Theme colors
The Theme section lists all the colors of the current presentation’s theme. Using theme colors rather than hard-coded colors ensures that your slides stay consistent with your template, and that they will update automatically if the theme changes.
Each theme color can be expanded to display its lighter and darker variations (tints and shades), exactly like in the native PowerPoint color palette, but always visible.
- Hover next to a theme color, and Click the arrow button to expand it.
- Its tints and shades appear below, each with its own font, fill and outline buttons.
- Click the arrow again to collapse it.
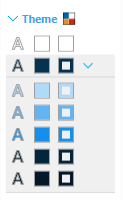
Should you need to edit the theme colors, simply click the button next to "Theme". It will open the window where the theme colors are set up.
My colors
Your brand guidelines or your client’s colors are not always part of the presentation theme. Save them in My colors to keep them one click away from any presentation.
- Click the + button next to My colors. A color palette will open so you can define the color code for the new color.
- Optionally, you can give your color a name, that will be visible as a tooltip over the color.
- The color is then added to your list, with its font, fill and outline buttons.
Colors saved in My colors are not linked to a specific file: they are available in the Color Bar in every presentation you open. This makes it easy to reuse a client’s palette across all the decks you prepare for them, even when you work on their template.
To delete a color from My colors, hover on the right of the color, and a trash bin icon will appear.
Replace colors
Need to change a color everywhere in your presentation at once, for instance to align an old deck with a new brand palette? Click Replace at the bottom of the Color Bar to open the Replace Colors feature directly.
To learn more, see the Replace colors section of the Cleaner article.
Was this article helpful?
That’s Great!
Thank you for your feedback
Sorry! We couldn't be helpful
Thank you for your feedback
Feedback sent
We appreciate your effort and will try to fix the article