TABLE OF CONTENTS
- Introduction to the Tombstones feature
- Creating the Excel database of tombstones
- Customizing the PowerPoint template
- Customizing the filters available to users in PowerPoint
- Publishing the Tombstones
Introduction to the Tombstones feature
Why are Tombstones useful?
Tombstones are one of the most powerful features available in Power-user for PowerPoint.
Many companies use tombstones (also called credentials or references) in their proposals to show potential clients that they have successfully delivered similar deals in the past. This is especially true for companies in consulting, finance or marketing services.
But in most firms, credentials result to considerable wastes of time and efficiency:
- Users waste time manually searching tombstones in previous presentations,
- They take the tombstones they find, not necessarily the most relevant for their current proposals,
- They spend a lot of time formatting tombstones in PowerPoint,
- They may also need to translate them (sometimes even translating them back the next time!).
With Power-user, Tombstones are one burden less off your mind, and a big boost to the productivity of the teams:
- Users will be able to browse all your Tombstones directly from the Library in PowerPoint,
- They will be able to quickly find the most relevant references, by applying filters on dates, industries, language, etc.
- When inserted in just 1 click, Tombstones will automatically take your corporate format, so that users don't need to apply formatting manually.
 Applying custom filters will provide users with the most relevant credentials to win a proposal
 Tombstones can be inserted in 1 click and will immediately take the corporate format defined by your organization
Tombstones can be fully customized to fit your own organization's template and data. The instructions below will provide you with the steps to follow for configuring Tombstones for your organization.
Tombstones work with any structured dataset.
This means that this feature can also be used to configure a collection of CVs, or any other structured data that might be used frequently in your presentations.
How Tombstones work in Power-user
The Tombstones work the following way:
- An Excel database compiles all the references of your organization
- A PowerPoint template defines the format in which the Tombstones should be inserted
- When a user browse Tombstones within the Library, Power-user will fetch the data from the Excel database, fill the PowerPoint template with that data and insert it in the presentation
Creating the Excel database of tombstones
- Download our sample Excel database of tombstones from this link.
- In the "Tombstones" sheet, customize the sample database to your need by adding or renaming columns. Each columns represents a distinct field (e.g. date, client name, industry, country, language, project manager, etc.)
- Fill the database with the data of your organization's references. Use 1 row for each tombstone.
- Make sure the Tombstones remain part of an Excel Table named "Tombstones" (as in the sample), in a sheet also named "Tombstones", so that Power-user will know where to find the data to use.
- When the database is ready, save the file
To get a Table named "Tombstones", select the range, go to "Insert", "Table" and validate.
Then from the "Table Design" tab, in the "Table Name" field, enter "Tombstones" and validate.
For logos, we should put all the logos in a folder, and reference in Excel the corresponding file name with extension, for instance "Client1.png".Customizing the PowerPoint template
- Download this sample Tombstones template.
- Open the file, and add a shape for each column of your Excel database that you would like to display on the Tombstones. These shapes will act as placeholders for the data from Excel. Customize their format, colors, text alignment etc. as you see fit.
- From the Selection Pane, rename each shape with the header name of the matching column (without the suffix). For instance, rename "Year" the PowerPoint shape that should be filled with the data from the "Year [Slider]" column of the Excel database.
- For shapes that will contain pictures (e.g. logos), use the name of the column that contains the path to the picture.
- You can include decorative shapes (not linked to data from the Excel database), no need to rename them.
- When all the shapes have been properly named, group them and rename the group "Tombstones".
- To display multiple Tombstones on a slide, just duplicate that group and position each tombstones on the slide.
- To provide users with multiple choices of layouts, just use a distinct slide for each layout.
- When your template is ready, save the file.

Customizing the filters available to users in PowerPoint
You can customize the filters that are available to users in PowerPoint. Each filter can be defined by adding the appropriate suffix to the header of the column in your Excel database:
- [Slider]: Use this suffix to display a slider Filter, allowing to select values within a range. This is appropriate for numbers (e.g. years, amounts...).
- [Combobox]: Use this suffix to display a combobox Filter. This is appropriate for a one-choice selection (e.g. language or client name).
- [Multi selection]: Use this suffix to display a checkbox Filter, which is appropriate for allowing users to keep several choices in their filter (e.g. filtering tombstones from project either in France or Germany).
- [Multiselect]: Use this suffix to display a checkbox Filter, which is appropriate for allowing users to keep several choices in their filter (e.g. filtering tombstones from project either in France or Germany). If each row can have multiple tags, enter these items in the same cell (with a "//" separator).

When you configure fields to be available as Filters, they will also automatically be available in the Sort options. But you can also add extra fields in the Sort options by adding a [Sort] suffix to a column.
Publishing the Tombstones
Publishing for testing
Once both your PowerPoint template and Excel database are ready, you can test them.
- Add a new folder to your file-sharing solution (e.g. shared drive or network). In that folder, save the relevant files:
- The PowerPoint template
- The Excel database
- The compressed ZIP folder containing all the pictures that will be used by the Tombstones (e.g. logos, flags etc.). The compressed folder can have one of the following extensions: .zip, .bzip, .7zip, .rar, .lzip, .tar, .tar.gz
- Connect to your admin portal, using your organization's credentials
- Go to the "Users" menu on the left, and make sure to add yourself to the "Test" team.
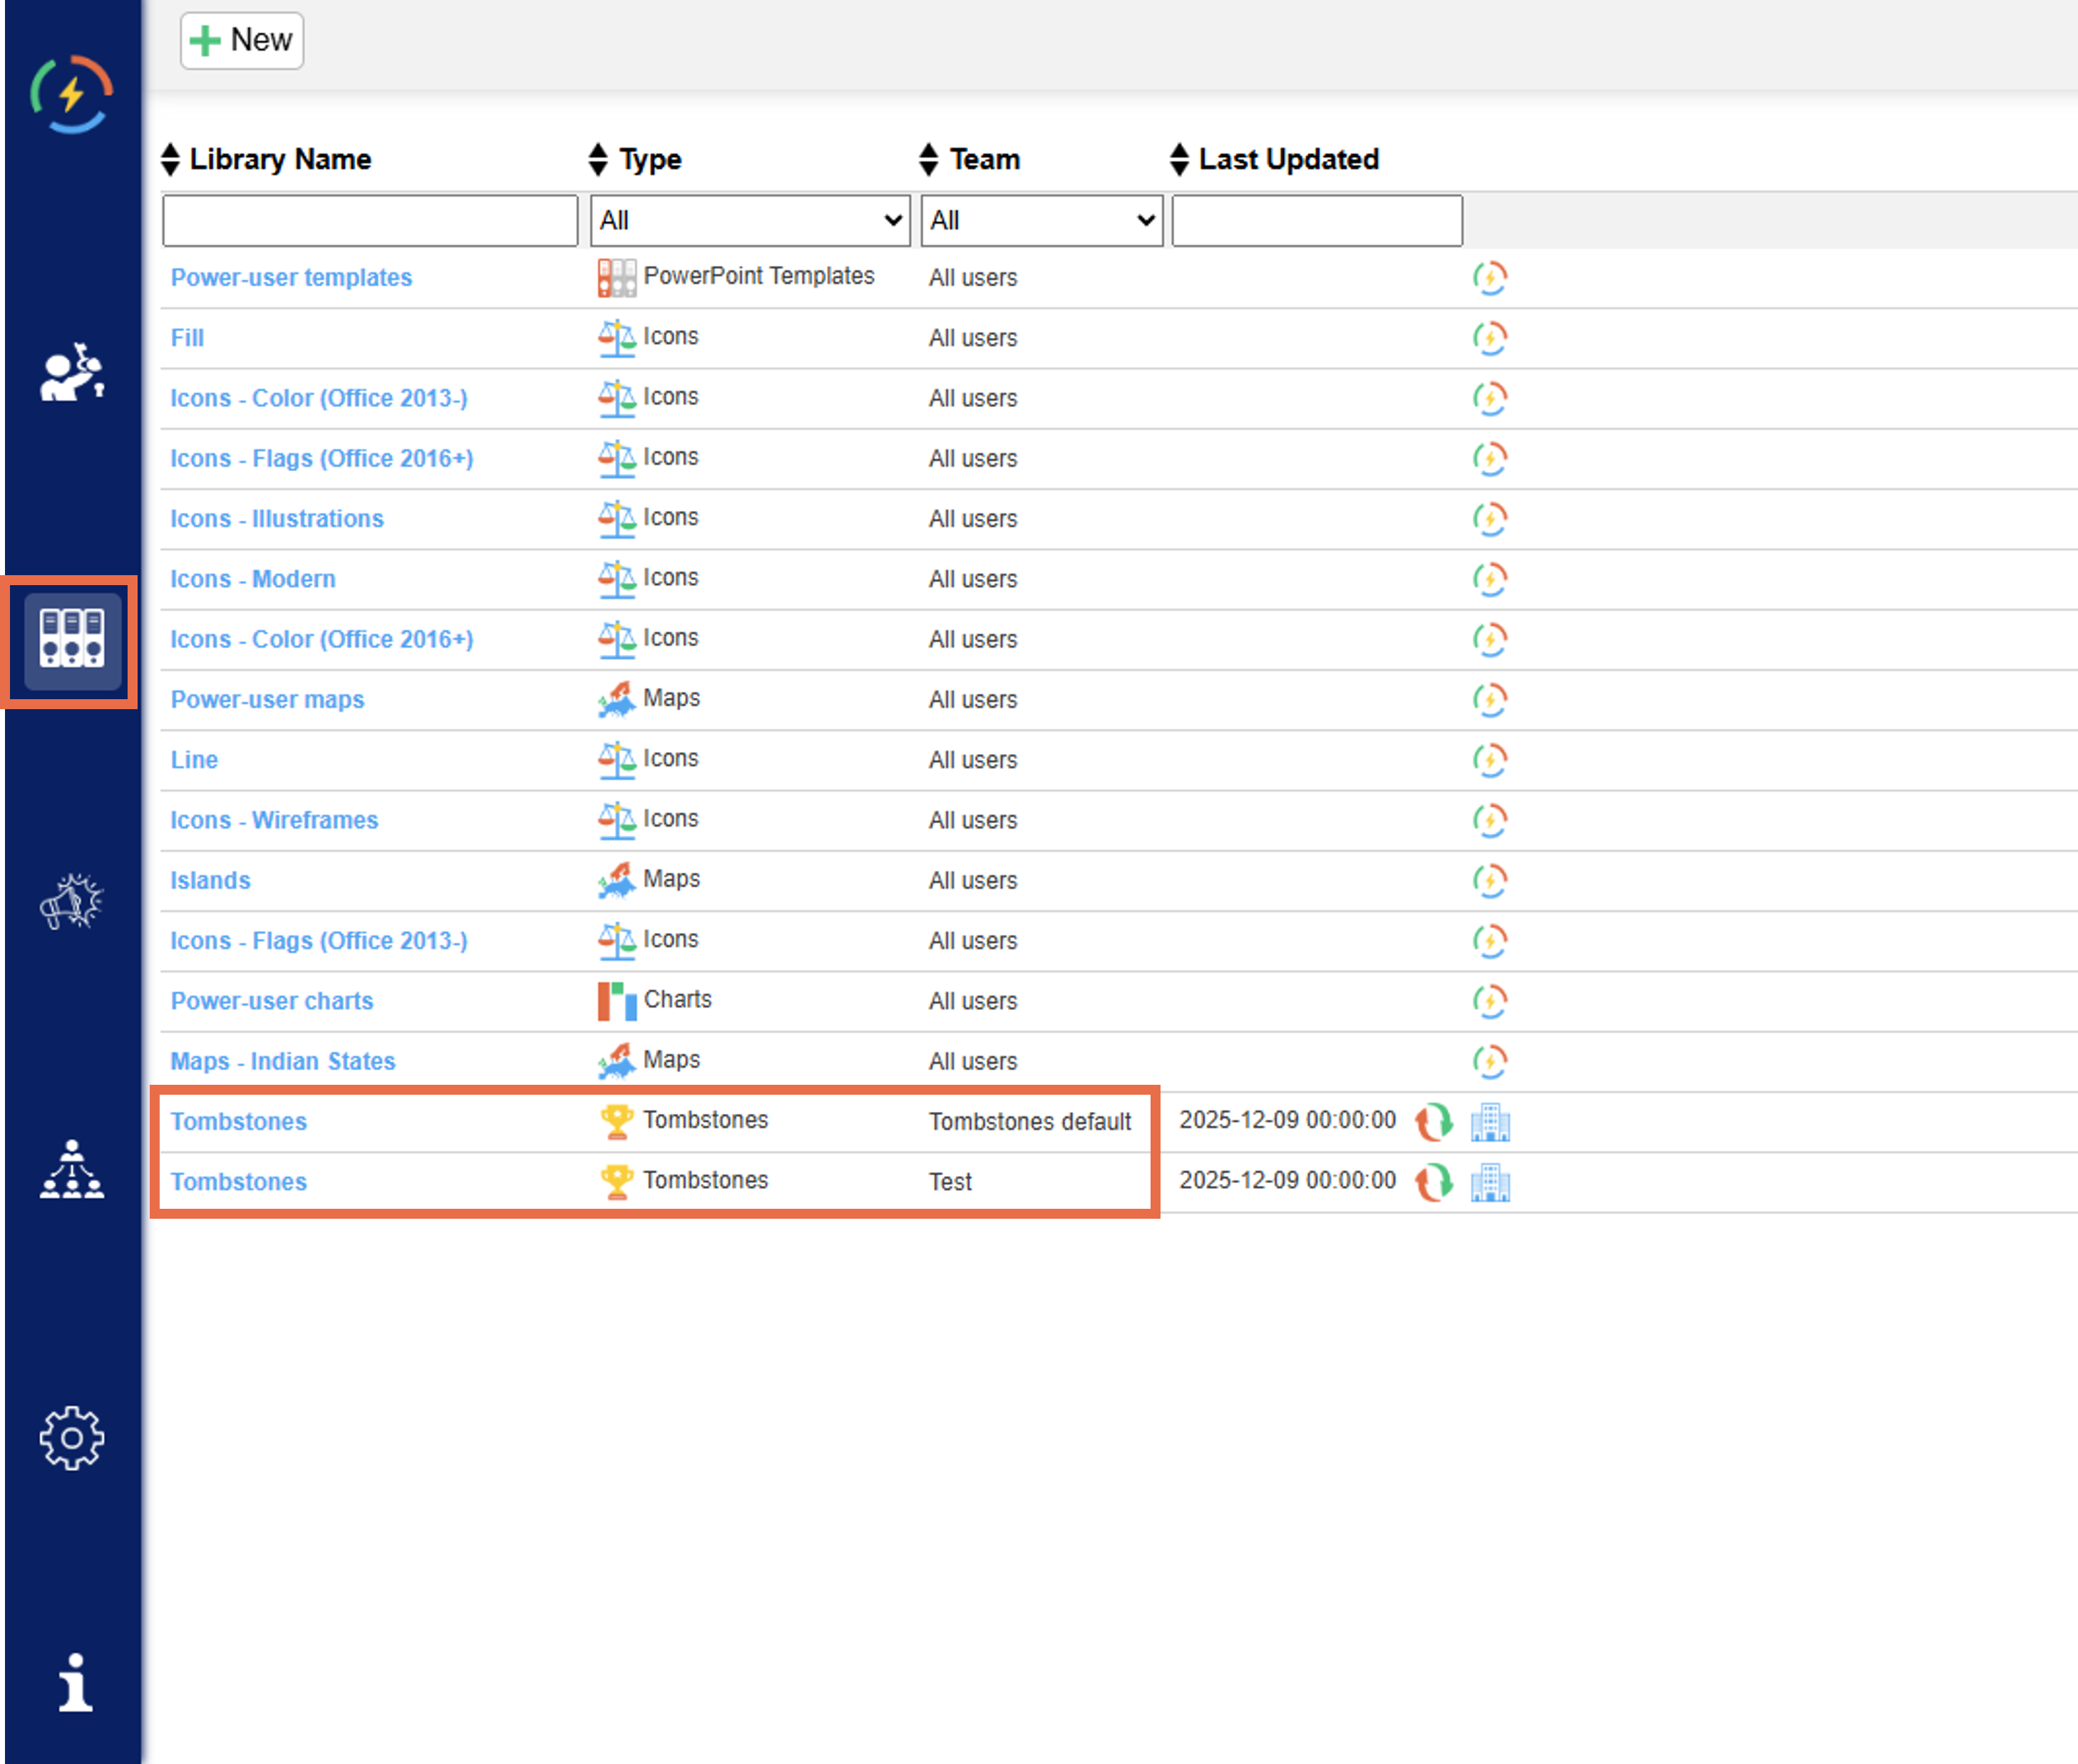
- Go to the "Library" menu on the left. By default, you should see 2 Tombstones items. One for Test and the other one. If they are missing, just click "New" on top and create them.

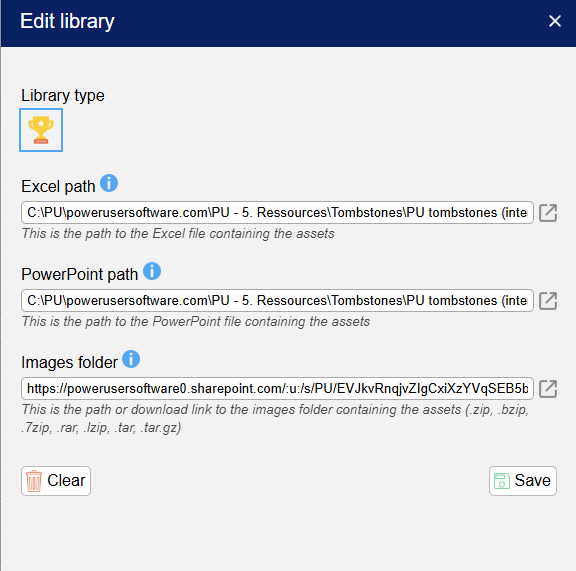
- Open the "Test" item, and enter the direct link to your PowerPoint file, Excel file and zipped pictures folder (see Getting the direct link to a file or folder). Then click "Save".

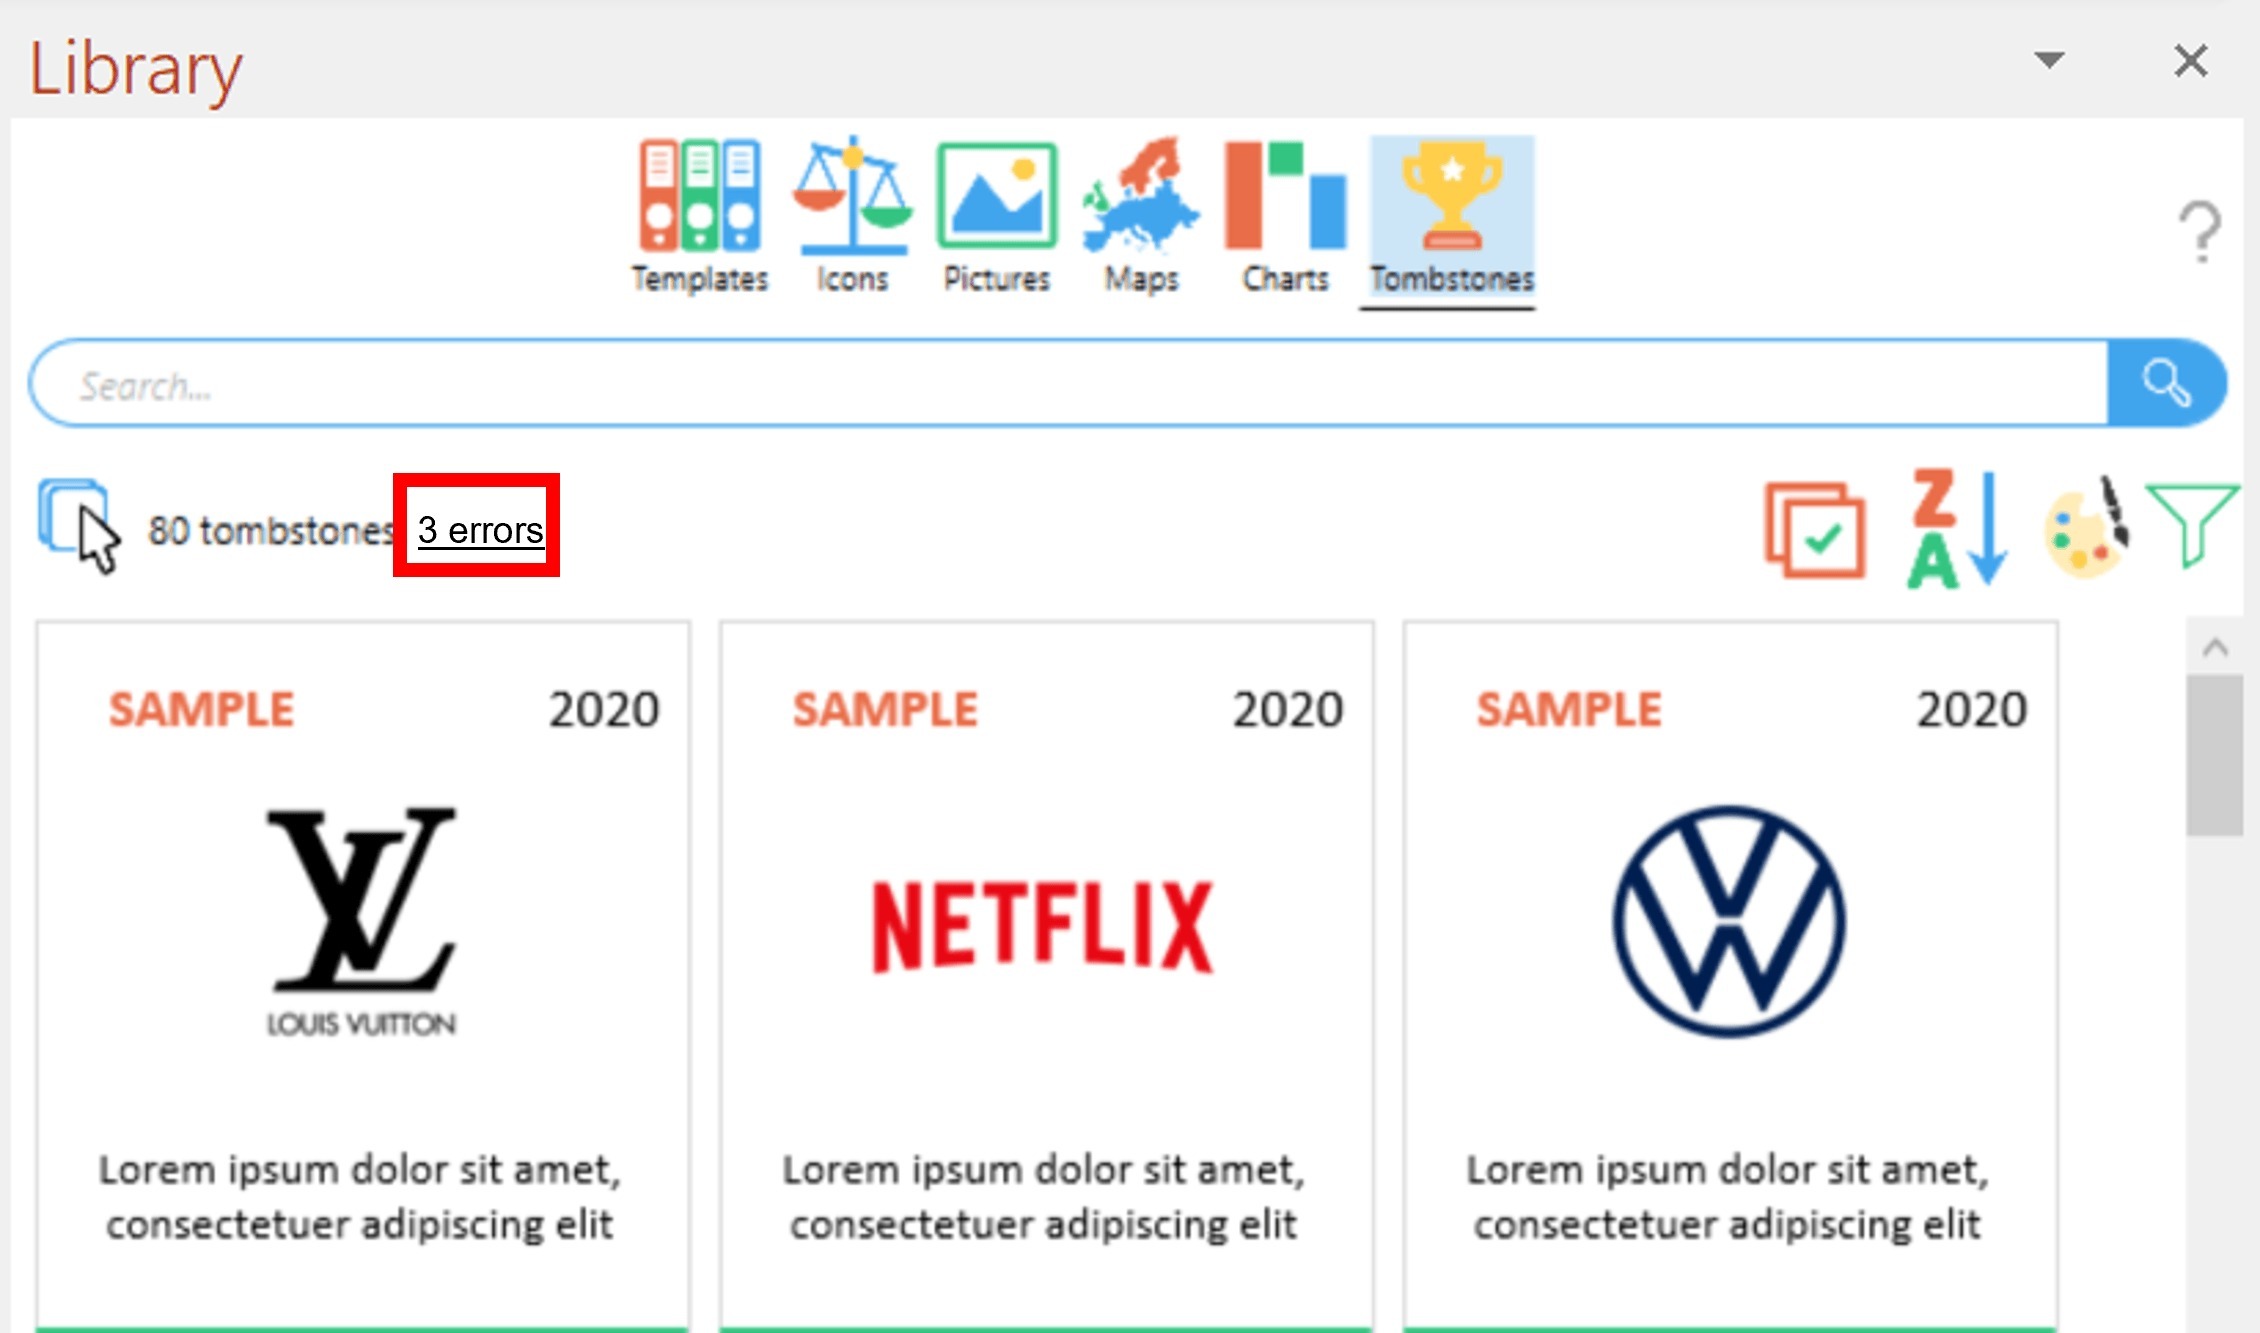
- Restart PowerPoint, go to the Library and open the Tombstones. The test files will download and become visible to you. Check if everything is working as expected, and resolve errors if any. If you find issues, adjust the underlying files and publish a new version of the "Test" Tombstones to confirm if your actions have fixed them.

Publishing for all users
Once you're satisfied with your tests, you can publish the Tombstones to the larger base of users in your organization.
For this, you will use the other "Tombstones" item of the "Library" menu on the admin portal, the one that says "Tombstones default".
Copy and paste the file path to the Excel file, the PowerPoint file and the zipped folder into the corresponding fields, and save. Now every user should see the Tombstones after their next PowerPoint restart.
Was this article helpful?
That’s Great!
Thank you for your feedback
Sorry! We couldn't be helpful
Thank you for your feedback
Feedback sent
We appreciate your effort and will try to fix the article